My First Clock Kit Assembly Instructions
Hey kids, you can do this! We have tried to make this very simple for
you.
We think you can assemble this clock from just the pictures. \
We will put print here too, but if you need help, just ask your parents
and they can show you what to do.
Ok? Let’s get started!
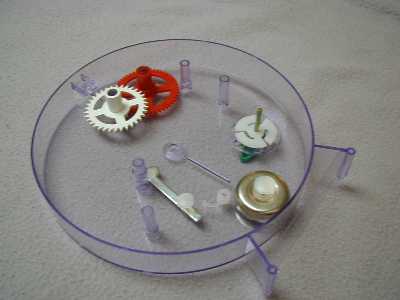
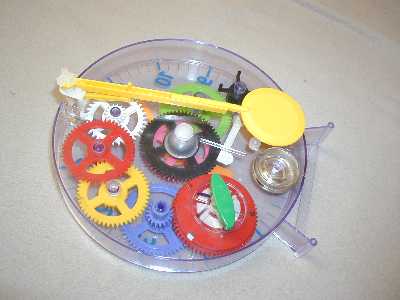
We will start with the empty frame, even though the clock kit comes
almost assembled.
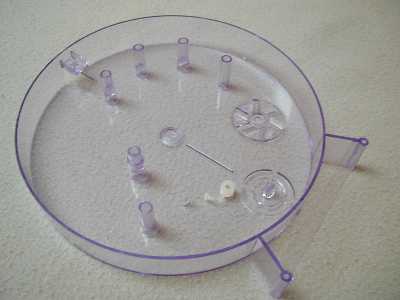
The thin part points upward.
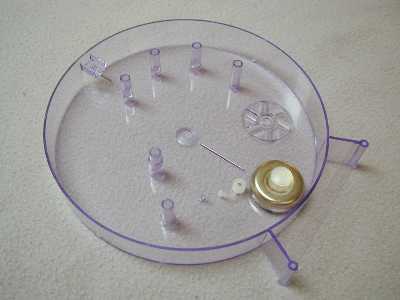
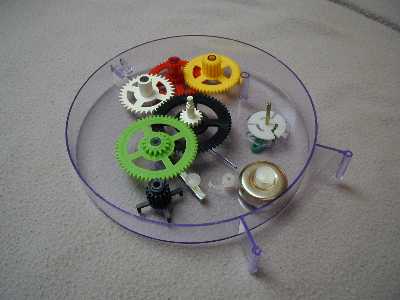
Then install the bell and fasten it with one of the large plastic buttons found in your kit.

Then install the winder and plastic clicker.
The white plastic circle, found in the second picture, is called the clicker.
The clicker’s smooth side goes on the top, so the rough side on the bottom can make clicks when your clock is wound up.
The winder key is green, and it goes on the outside bottom of your clock.
Be sure to put the winder key’s metal piece through the clock-frame hole and through the clicker.
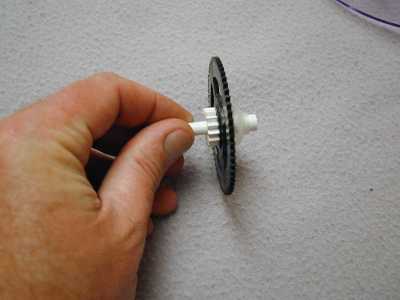
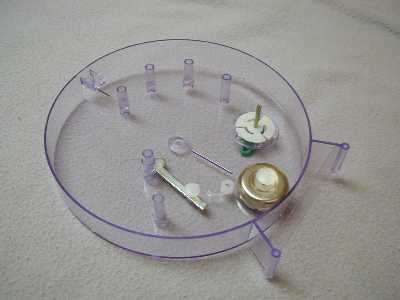
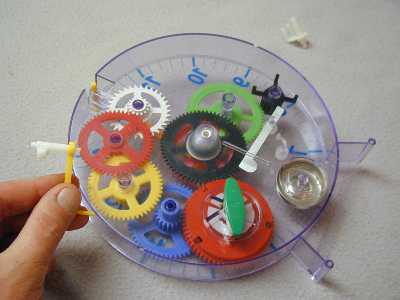
The next piece, you will have to make from parts in your kit.
Find the white piece and place it into the black gear, just as shown.
On the bottom of the gear (opposite the hand shown), install the plastic piece shown in the picture (it looks like a small plastic bowl with a hole in it).
Great, we are doing just fine!
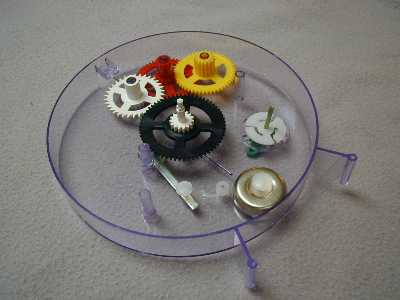

Also, install the black gear that has four "legs," or four points to it.
This last piece is what allows your clock’s bell to ring about every 15 minutes.
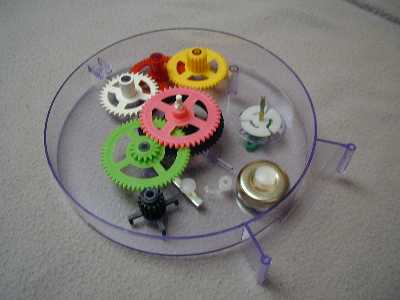
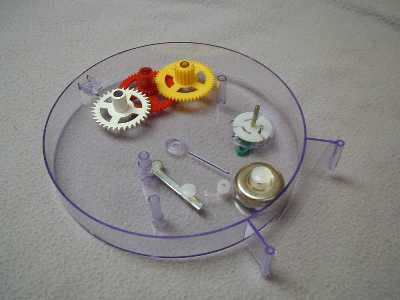
We now install the winding spring-gear assembly into the clock.
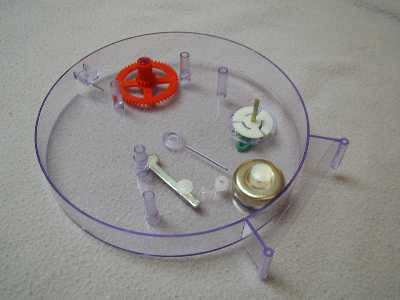
After this, we install the blue gear, just like in the picture.

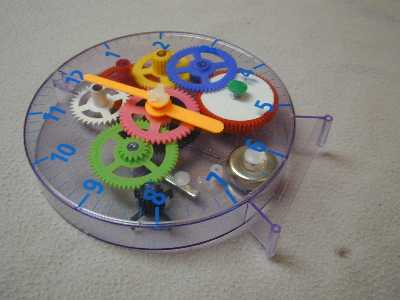
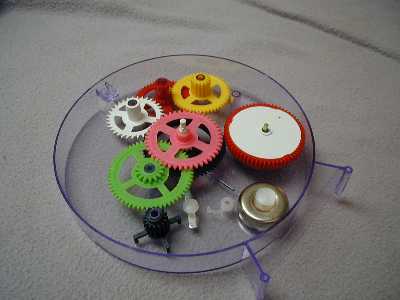
Install the clock hands and secure them with the triangular plastic piece.
Also, install the little green button on the winding gear. Your clock is now almost complete.
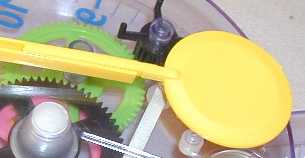
We just need to install the outside pendulum.

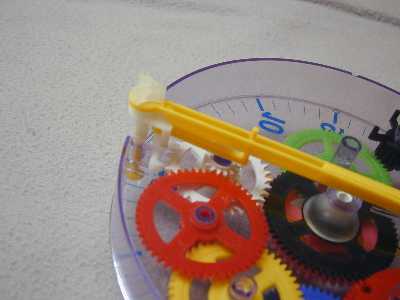
Slide the yellow piece onto the white piece.
Place this assembly into your clock, as shown.

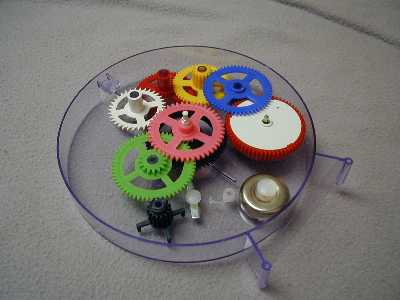
Now install the pendulum and secure this with the last triangular plastic piece.
Note that the pendulum piece has the pointed fork piece going through its body, a few inches down from the top.
We are almost finished!
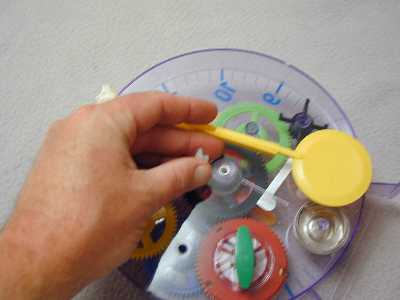
Place this cap in the hole of the central black gear.
We are now finished! Congratulations!
You now just need to wind your clock and show it to your family!
I’ll bet they will be surprised at what you have made with your own hands!
You did it! You made this clock!
Regulating Your Clock
If the pendulum Bob is raised, it speeds up the pendulum’s swing, making the clock run faster.
If the pendulum Bob is lowered, it slows the pendulum swing, making the clock run slower.
We suggest you start with the pendulum positioned about ½" from the surface the clock sits on.
If need be, lower or raise the pendulum by repositioning the pendulum using the serrated slots built into the pendulum body, as shown below.
You might want to make a positioning point with a pen or pencil before making the first adjustment.
Additionally, your clock should run about 12 hours between windings.
Clock Maintenance
Virtually no maintenance is required. Lubrication is not necessary, as the clock runs beautifully, simply because of its design and the fact that it is made of extremely durable plastic.